
Core Workflow
Uploading Your Data
Bring the files you already have. A five-step wizard reads them, works out which objects and events they describe, shows you what it found, and asks you to approve it before anything is imported.
Overview of the upload process
The wizard has five steps, and the AI does the parts that are tedious rather than the parts that matter:
- Select Process — say roughly what kind of process this is
- Upload Data — add your files
- Auto Mapping — agents read the files and propose a mapping
- Check Mapping — you review and approve what they found
- Transform Data — the approved mapping is executed and the data is imported
Most first imports take under fifteen minutes end to end, and the middle two steps are where your attention is worth spending.
The mapping the agents write is saved with the dataset. Every later upload of the same shape reuses it, so your process data stays stable as new data arrives.
What you can upload
CSV files
One file or several, up to ten files per upload and 10 GB each. No special preparation is needed, but these help:
- Headers in the first row
- UTF-8 encoding
- One row per record
At a minimum the data needs timestamps (when something happened), activities (what happened), and identifiers (what it happened to). Anything else you have — amounts, statuses, actors, categories — becomes an attribute you can filter and group by later.
If your data is spread across several files (customers in one, orders in another, events in a third), upload them together. The agents follow the keys between them rather than asking you to flatten everything first.
XES and OCEL 2.0 event logs
If you already have an event log in a standard interchange format, upload it directly: .xes, .xes.gz, .jsonocel, .sqlite or .sqlite3. These formats already describe their own objects and events, so they skip Auto Mapping and Check Mapping entirely. Instead you get a Review your import summary — object types, objects, event types, event–object links, object relations and any notes from the parser — and a Confirm & import button.
Example: the order-to-cash sample
The multi-file sample on the Upload Data step is a real order-to-cash export: five CSV files, one per table, joined by their IDs. Here is one order traced through all five — SO-000031, which was held on a manual block and released the next day.
customers.csv — one row per customer:
customer_id,customer_name,region,customer_segment,payment_terms,credit_limit
CUST-0002,Cobalt Process Systems,UK,SMB,Net 30,58521.37
sales_orders.csv — one row per order, pointing at its customer:
order_id,customer_id,order_date,created_by,order_value,channel,requested_delivery_date,order_status
SO-000031,CUST-0002,2025-02-13 08:00:00.603938,sales_user_06,4022.41,Direct,2025-03-06,Closed
sales_order_items.csv — one row per order line, pointing at its order:
item_id,order_id,item_number,product_id,quantity,item_value,plant
SO-000031-10,SO-000031,10,PROD-008,2,4022.41,Plant-B
sales_order_events.csv — what happened to the order:
event_id,order_id,activity,timestamp,user_id,block_reason,release_type
43,SO-000031,Create Sales Order,2025-02-13 08:00:00.603938,sales_user_06,,
44,SO-000031,Block Sales Order,2025-02-13 09:56:00.603938,credit_ctrl_02,Manual hold,
45,SO-000031,Unblock Sales Order,2025-02-14 09:28:00.603938,credit_ctrl_02,,manual
sales_order_item_events.csv — what happened to each line:
event_id,order_id,item_id,activity,timestamp,user_id
99,SO-000031,SO-000031-10,Create Sales Order Item,2025-02-13 08:00:00.603938,sales_user_06
100,SO-000031,SO-000031-10,Confirm Sales Order Item,2025-02-14 08:00:00.603938,sales_user_07
From these files, the agents work out:
- Objects: three object types, one per ID — customers (
customer_id), sales orders (order_id) and sales order items (item_id) - Relations: each order belongs to a customer (
sales_orders.customer_id), and each item belongs to an order (sales_order_items.order_id). An order can have several items; this one has one - Events: the two event files become activities — Create Sales Order, Block Sales Order and Unblock Sales Order on the order; Create Sales Order Item and Confirm Sales Order Item on its line
- Attributes: everything else comes along for filtering. On the customer: region, segment, payment terms, credit limit. On the order: value, channel, status, requested delivery date. On the line: product, quantity, value, plant. On the block and release events:
block_reasonandrelease_type
The Order to Cash project in the Examples workspace is built from the same kind of data, extended with deliveries, invoices and products — six linked object types in all. See Object-Centric Approach for why that shape matters.
Sample files
The Upload Data step offers two samples, so you can run the whole wizard before preparing anything of your own:
- Order to cash, a real multi-file export — the five files above: customers.csv, sales_orders.csv, sales_order_items.csv, sales_order_events.csv, sales_order_item_events.csv. Upload all five together and watch the mapping link customers, orders, items and their event logs.
- The simplest possible data — loan-sample.csv: one flat file, one case ID (a loan application), with case attributes on every row. No relations to work out, so it is the fastest path to a first map.
Don't worry about perfect data
Your files do not need to be tidy. Inconsistent formatting, missing values, several date formats in one column, column names that mean nothing to anyone outside your team — the agents work through all of it, and the Check Mapping step is where you correct anything they read wrong.
The five steps
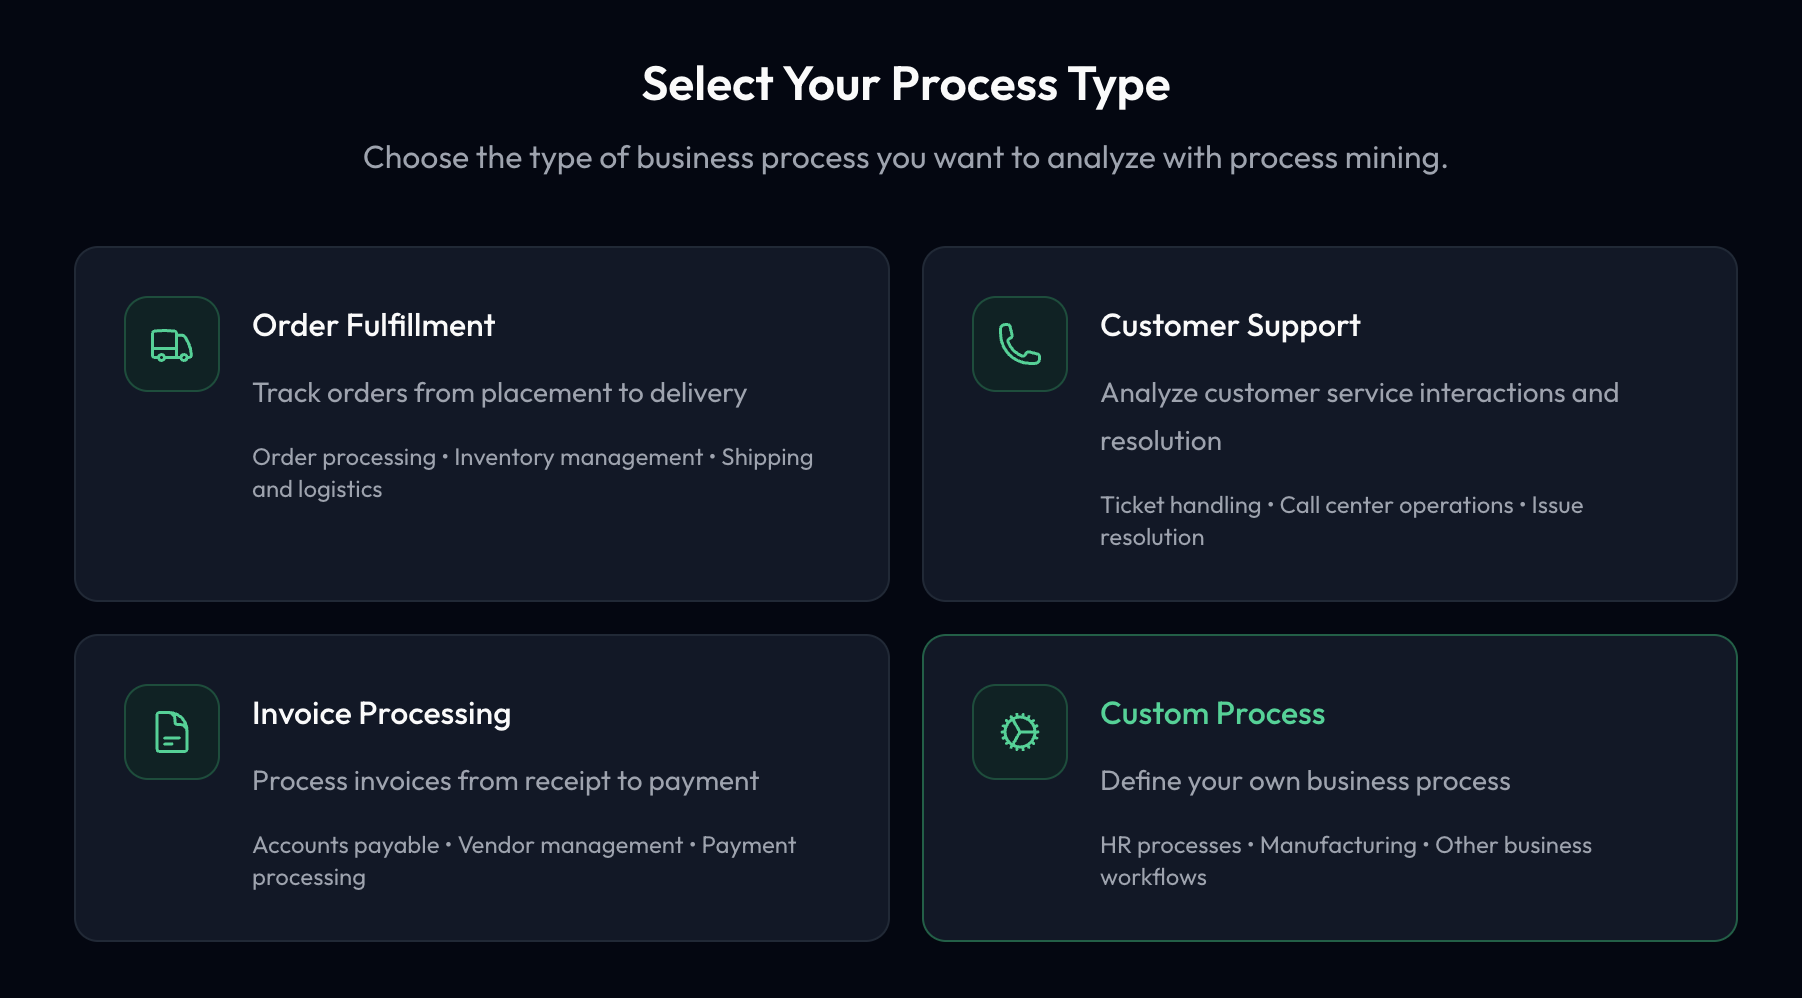
Step 1: Select Process
Open Data Management in your workspace and click Create New Dataset. Pick the kind of process you are analysing:
- Order Fulfillment — order processing, inventory, shipping and logistics
- Customer Support — ticket handling, call centre operations, issue resolution
- Invoice Processing — accounts payable, vendor management, payments
- Custom Process — HR, manufacturing, or anything else
Then click Continue to Upload. The dataset is named after the process type you chose and you can rename it later, so this choice is context for the agents rather than a commitment. If you already have a dataset waiting for its mapping review, this step offers to pick that one up instead of starting over.
Step 2: Upload Data
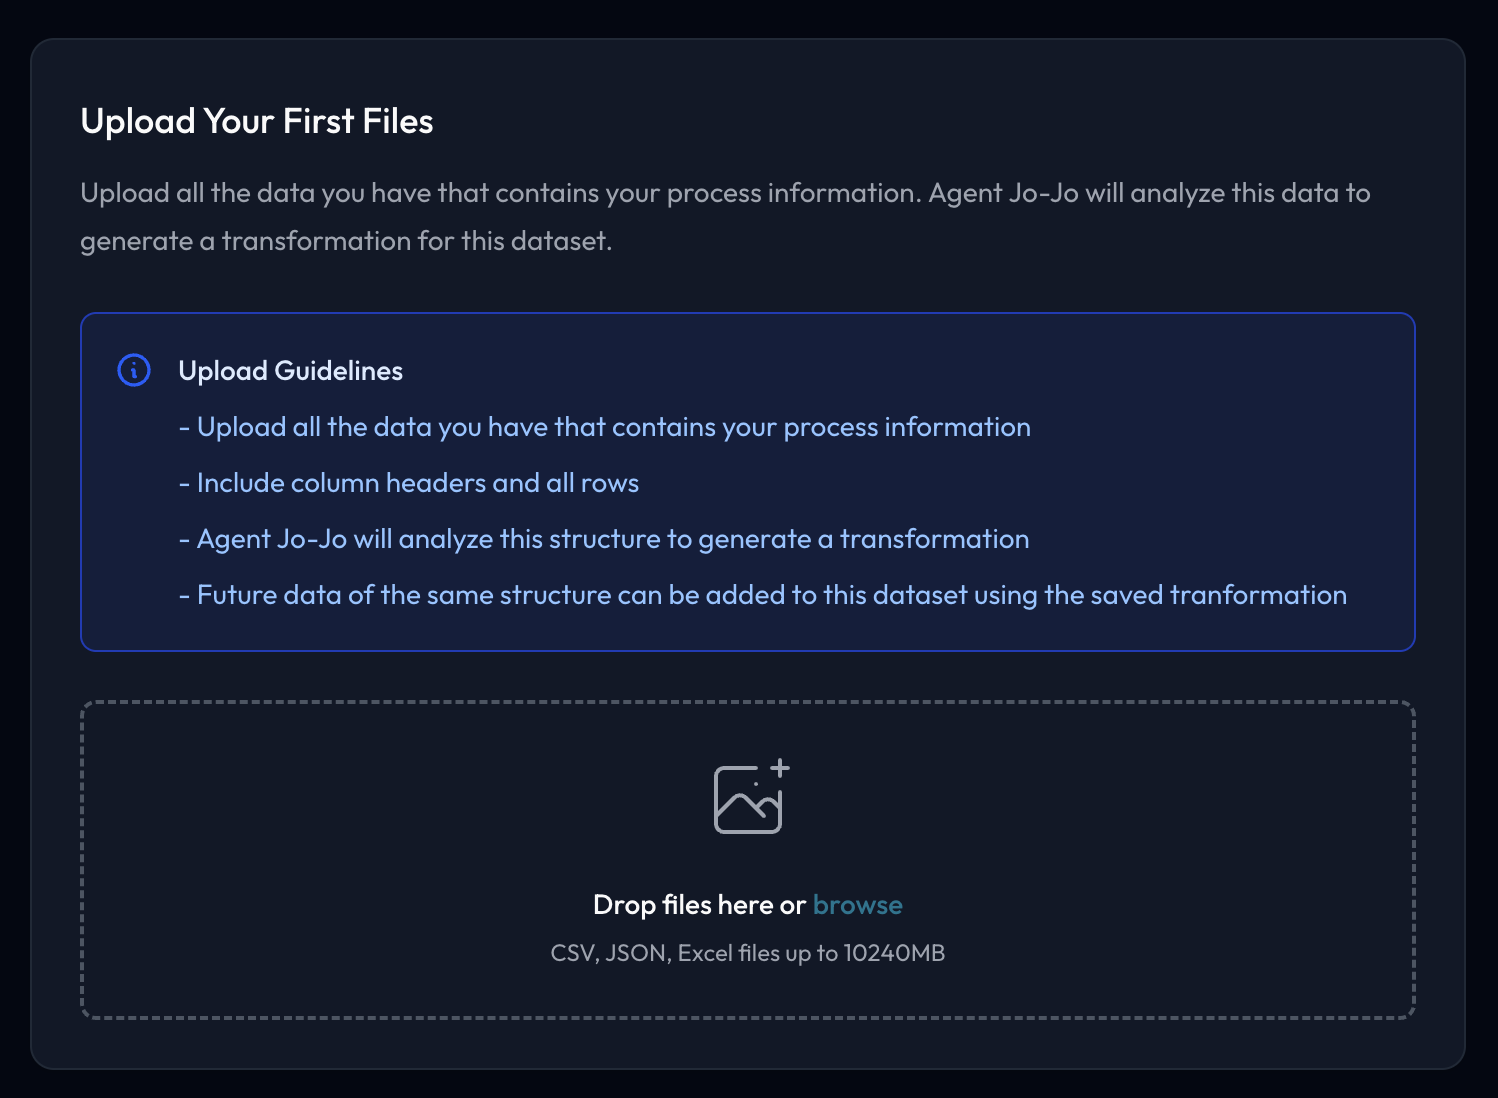
Drop your files onto the upload area, or click browse to pick them. You can also start from one of the two samples described above.
Uploads are usually a matter of seconds. Once every file is in, click Proceed to Mapping.
Step 3: Auto Mapping
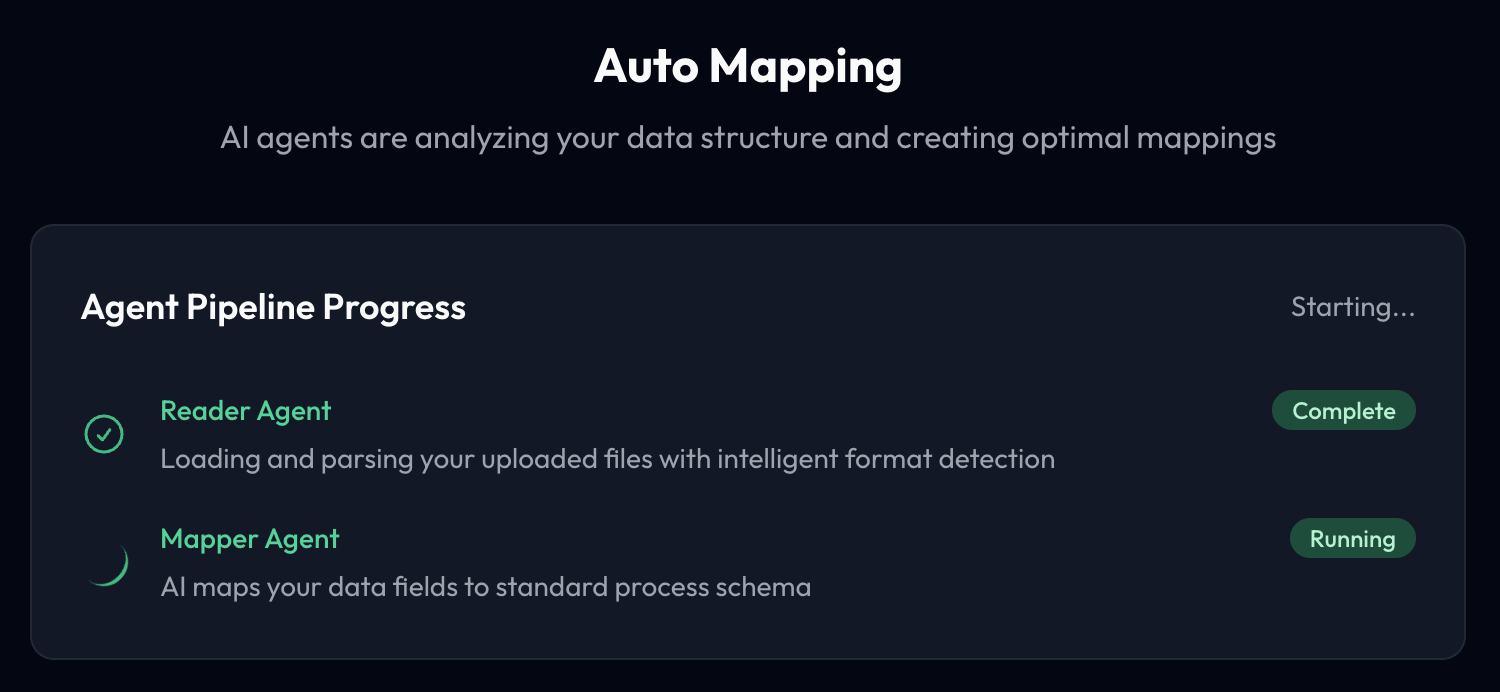
The step shows the agents as they run, under a short status line such as "Scanning data structure…":
- Reader loads and parses your files, detecting formats and column types
- Mapper works out what the data means: which columns identify objects, which rows are events, how the objects relate to each other
Behind them a third agent, Inflator, expands the mapping into the form the review screen needs.
This normally takes a couple of minutes. Nothing has been imported yet — the output is a proposal.
Step 4: Check Mapping
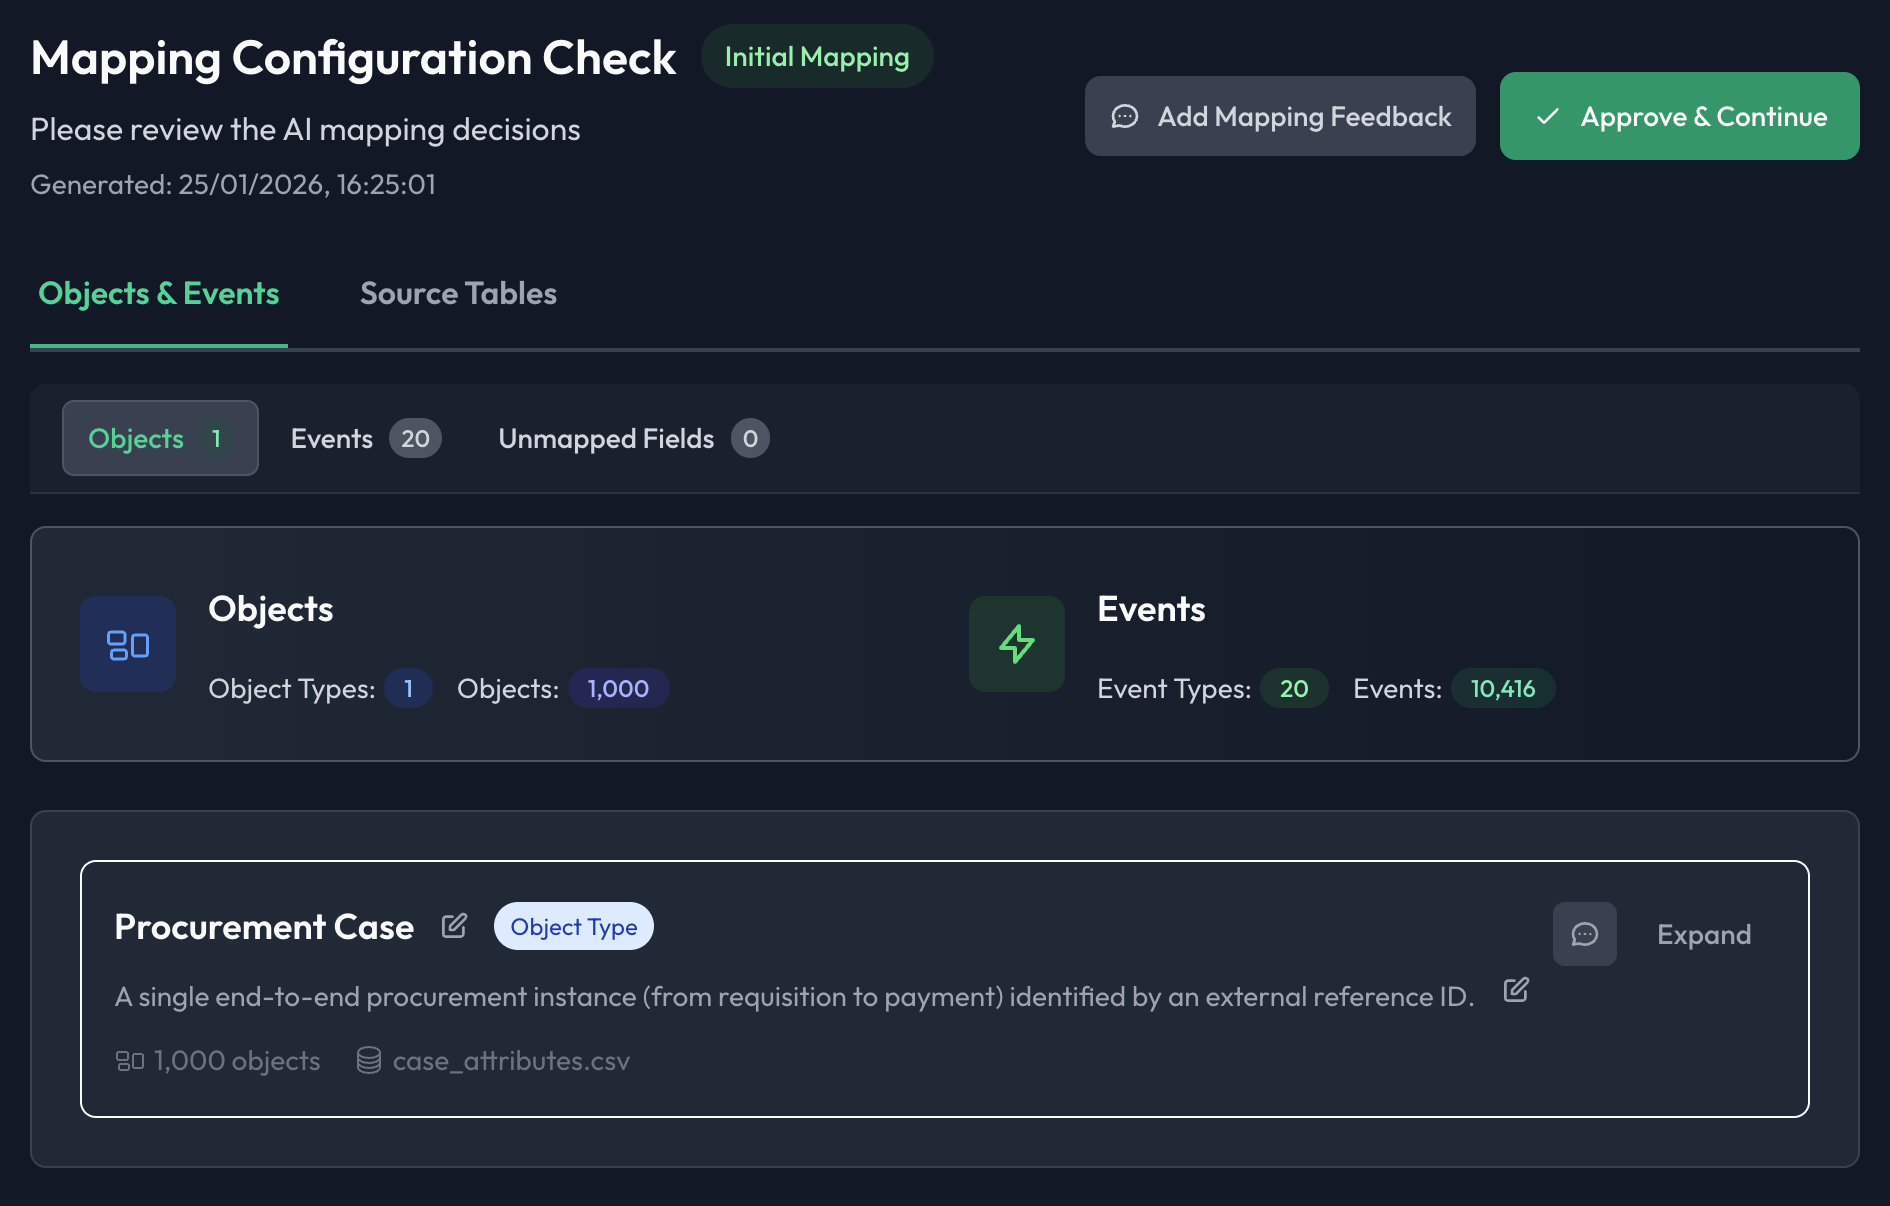
This is the step that matters. The Mapping Configuration Check screen shows what the agents concluded, and nothing is imported until you approve it.
Two views sit at the top:
- Objects & Events — what the mapping produced, in four tabs that carry their own counts: Objects (types and objects), Events (types and events), Relationships and Unmapped Fields
- Source Tables — your files as they were read, column by column, so you can see where each mapped field came from
Each object type is a card with its description, how many objects were found and which file they came from, with Add Note to comment on that one type and Expand to see its attributes.
What you can change here:
- Rename an object or event type, or edit its description
- Include or exclude an individual field
- Fix a timestamp that was read in the wrong format
- Add an exclusion rule to drop rows you do not want
- Link or unlink an object relation
If something is wrong in a way that is easier to describe than to click, use Add Feedback (or Add Note on a single card) to say what is wrong in your own words, then press Remap: the agents run again with your correction in hand, and you review the new proposal.
When it looks right, click Approve & Continue.
Take your time here
Everything downstream — the map, the variants, the copilot's answers — rests on this mapping being right. Three questions worth asking before you approve:
- Do the object types match the things your business actually tracks?
- Is every activity you care about present as an event type?
- Do the relations between object types reflect reality?
Step 5: Transform Data
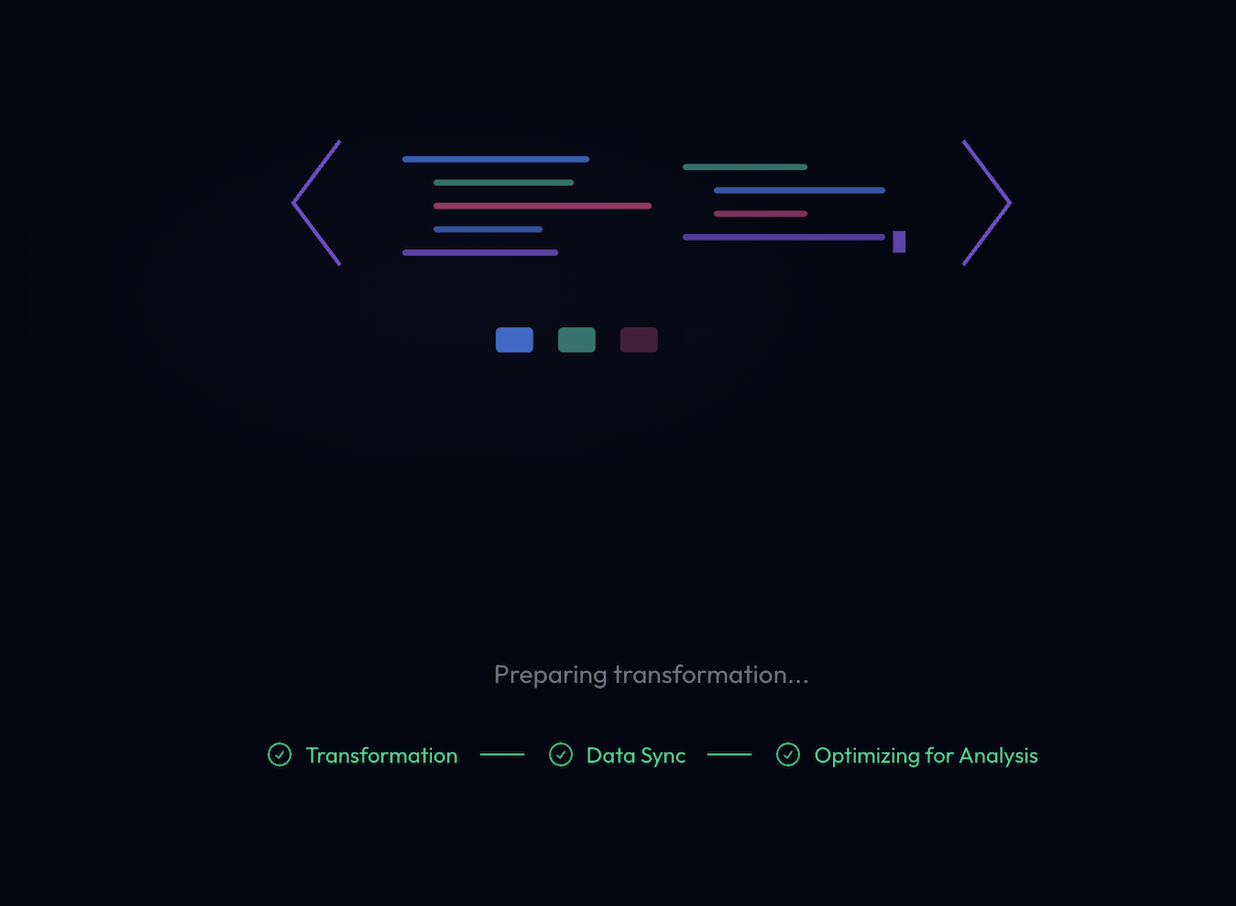
The approved mapping is executed in three stages, shown as they run:
- Transformation — the mapping is turned into a reusable transformation and applied to your files
- Data Sync — objects, events and relations are written to the database
- Optimizing for Analysis — sequences are built so the map, variants and filters stay fast
A couple of minutes later the dataset appears in Data Management, ready for a project.
Adding more data later
The transformation is saved with the dataset. To append new data of the same shape, open the dataset in Data Management and upload again — the saved transformation is reused, so the new rows land in the same object and event types as the old ones, with no second mapping review.
Troubleshooting
A file will not upload
Check that the extension is one of the supported ones (.csv, .xes, .xes.gz, .jsonocel, .sqlite, .sqlite3), that the file is under 10 GB, and that you are uploading no more than ten files at once. If a CSV was exported from a spreadsheet, opening it once in a text editor is a quick way to confirm it really is comma-separated and has a header row.
The mapping looks wrong
Correct it in Check Mapping. Renaming and excluding fields is immediate; for anything structural, write what is wrong in the feedback box and press Remap. If the agents are wide of the mark, a smaller, cleaner sample of the same data usually maps better, and the transformation it produces then works on the full file.
Timestamps were not found, or were read wrongly
Your data needs at least one date or datetime column. If a date was parsed with the day and month the wrong way round, fix it on that field with the timestamp format control in Check Mapping rather than editing the source file.
Too many event types
If subtle spelling variations became separate activities ("submit", "Submitted", "SUBMIT"), merge them in Check Mapping, or standardise the names in the source data and upload again.
Next steps
Create your first project
- Creating a Project — set up a focused analysis view of your data
Explore your process
- Process Map — see the flow your data describes
- Process Variants — the distinct paths through it
Ask questions
- Co-Pilot — ask about the process in plain language
Data uploaded
Your process data is in Flow Myna, modelled as objects, events and the relations between them. The next step is a project: a view of that data with its own scope, filters and conversations.